
Reputation Activity
-

 david reacted to Beq4u in Render Error
My problem has been solved. Mine Imator requite more RAM. In task manager you can give any of program more RAM. So my animation was rendered and problem solved.
Sorry for disturbing you
-


-
david reacted to Korbs in Mine-imator 2.0 Pre-release 7 (Phase 2)
It's working great on Linux! Thanks guys!
-

-

-

-
-

-


-

-

-

-

-

-

-

-
.thumb.jpg.871f393fb2cbae2bdbb5f15868c08214.jpg)
-
-

-

-
 david got a reaction from moniker in Where does Mineimator 2.0 get the textures from?
First folder is for the default resource pack (labeled "Minecraft" under Resources) loaded during startup, the second is a temporary folder used when importing resource packs. Modifying the images in unzip won't affect anything. Modifying the images in Minecraft_unzip will take effect when restarting MI. The reason it's not intuitive is because this folder isn't meant to be accessed by users, really.
-
david reacted to AR negative in Dev update #23: 10th year anniversary and... IK?!
I was almost going to leave mineimator, this update changes my mind
-

 david got a reaction from RH12 IDN in Mine-imator 2.0 Pre-release 4 (Phase 1)
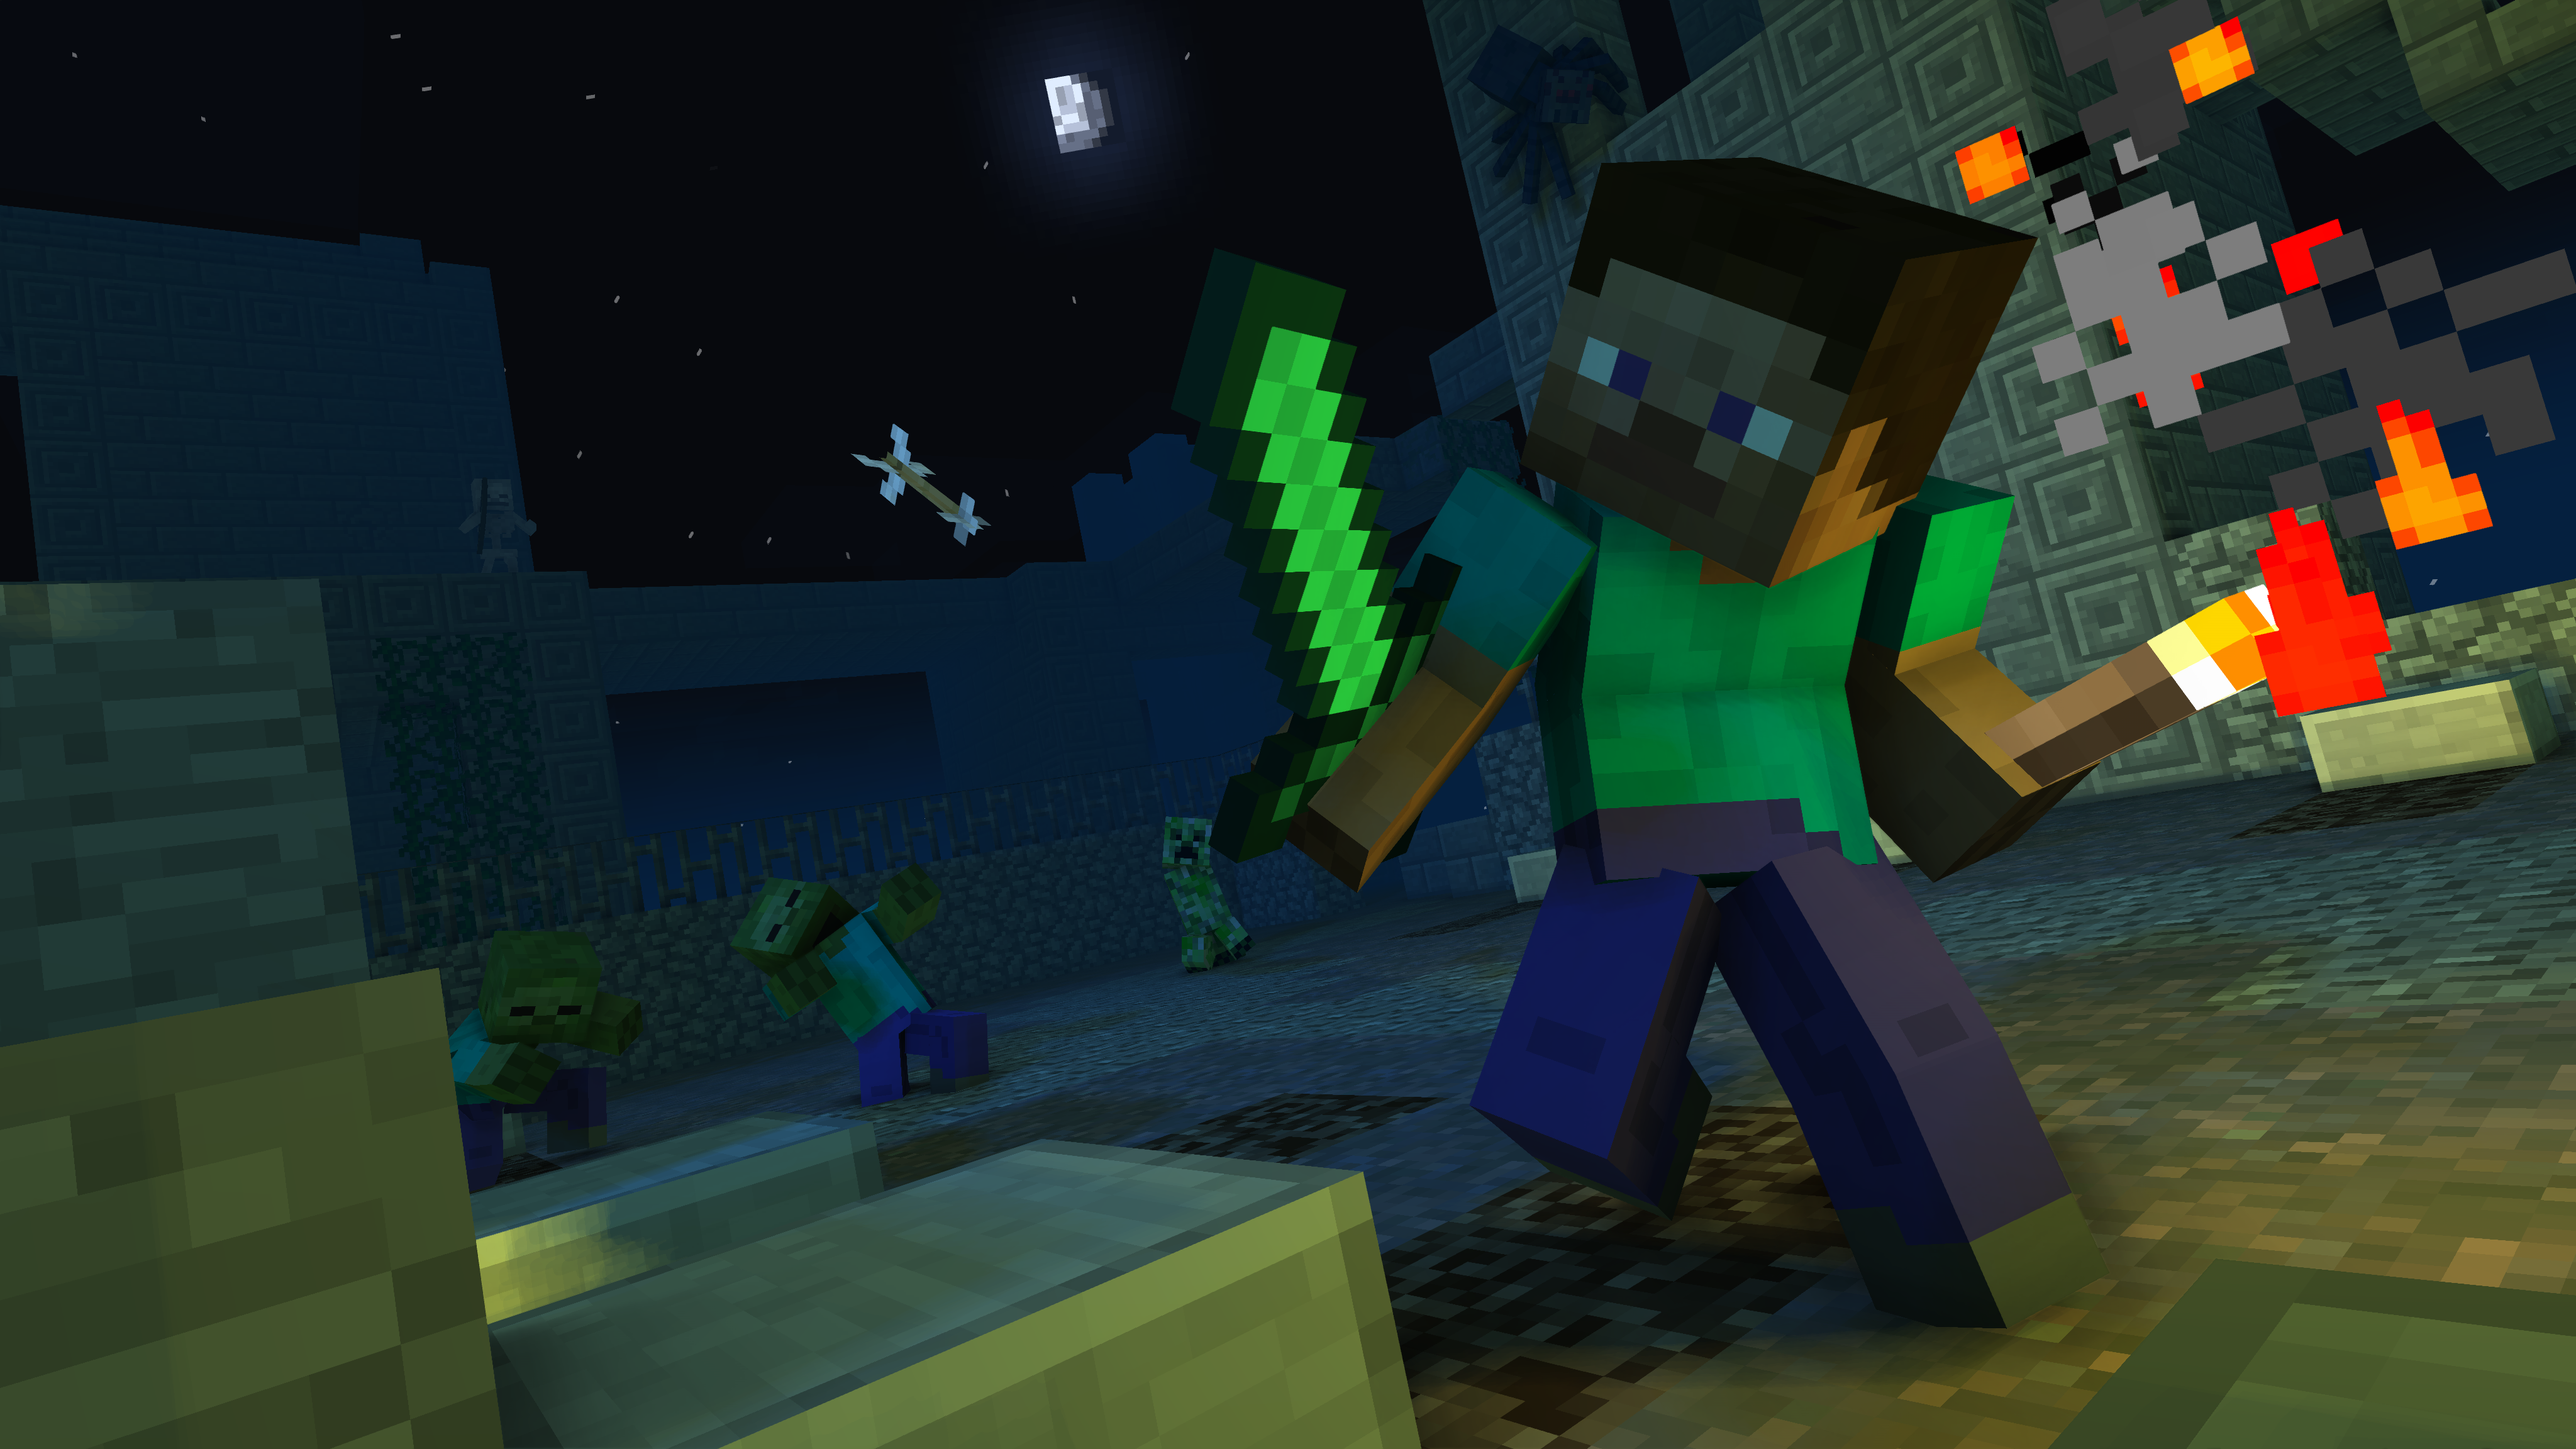
Good news! The legendary 2.0 Anniversary Update is here for testing on Windows, Mac and Linux platforms! This update is in fact so grand that it has been split into two phases that will be revealed over the next few months as pre-releases:
Phase 1 (May 30th): Multi-platform support, performance improvements, new world importer and multi-monitor support by @david
Phase 2 (November): New user interface, logo, rendering and animation capabilities by @Nimi, also includes all features in Phase 1 and Minecraft 1.19 support
Since these builds will contain many features and be built on an entirely new C++ engine, expect bugs to appear! As usual, please report them in the Issues and Bugs subforum with as much information as possible included in your topic and project files if possible.
Note: Back up your projects before installing, or install in a separate location! Now, without further delays...
Get for Windows
Get for Windows (.zip)
Get for Mac
Get for Ubuntu/Debian
Get for Linux (.tar)
Get for Windows 32-bit
Get for Windows 32-bit (.zip)
2.0 Pre-release 4 (2022-07-29), changes:
Changes
Crushed some bugs 🐛🐛🐛 Interface scale setting is no longer visible when the only option is 100% to avoid confusion
2.0 Pre-release 3 (2022-07-11), changes:
Features
Added support for 32-bit Windows systems Added tarball (.tar) download for various Linux distributions (Arch Linux, Fedora etc.) Changes
Rendering now uses DirectX 11 for Windows, will give better framerates for users with AMD GPUs or integrated CPU graphics Objects completely out of view are no longer sent to the GPU for rendering, will give a speedup in certain situations Yet more bugs squashed 🐛🐛 Changed interface scale setting to use fixed values (100%, 200% or 300%) Canceling movie export no longer deletes the file Modelbench popup only shows up on Windows
2.0 Pre-release 2 (2022-06-13), changes:
Features
Interface scale setting for high DPI monitors in Settings>Interface (Automatic or custom scale) Render distance slider in Settings>Graphics Changes
Squashed a lotta bugs 🐛 Added a more accurate FPS counter Adjusted size of custom fonts in the UI Removed option to add block timelines when >500 timeline are available (will return as an option in the Resources tab in later pre-releases)
2.0 Pre-release 1 (2022-05-30), changes since 1.2.9:
Features
Mac OS support Linux support (Debian/Ubuntu) Drag-n-drop mode when adding objects from the workbench after clicking “Create” Objects are locked to the mouse and snaps to the world until released Hold Shift while clicking “Create” to spawn at 0,0,0 Hold Shift while dragging to toggle position grid (modify size in keyframes, default is 16) New world importer 3D interface integrated into software Left click: Rotate/Create selection Middle click: Pan Right click: Fly (+WASDQE) Mouse wheel: Zoom towards/away from cursor Shift: Ignore selection Increased performance and stability improvements Shortcut button in toolbar After importing from a world, clicking the “Reload” option under “Resources” will update the block changes from the world (if still present on the disk) Multi-monitor support Drag the timeline or secondary view out of the window to detach as a new window Alternatively, click the new “Pop out”/”Reset” buttons Monitor setup is saved when re-opening Mine-imator “Cancel” option when exiting the software via “X” Assets and files can be dropped into the software from the system file explorer Improvements
Overall software performance improved by x3-5 Particle performance improved by roughly x10 Audio loading is now instant Scenery/.schematic importing up to x10 times faster, depending on CPU cores Optimized memory usage for 3D meshes, meaning bigger scenery can be imported Generated scenery 3D models are cached in the project folder, allowing instant loading (will generate in the background, may take a minute to appear) Project/resource loading stability improvements Program now runs in x64 mode using C++ Changes
“Sunlight Strength” is now 100% by default (this setting may be removed in the future) Removed “Spawn near work camera” option (replaced by the drag-n-drop mode which achieves the same thing) New error message popup with direct links to log file and Mine-imator forums Log file moved to application folder
Installation:
Windows: Run the installer executable or extract the .zip archive before running.
Mac: Open the disk file (.dmg) and drag the Mine-imator icon to your Applications.
Ubuntu/Debian: Either double click the .deb file to run the Software Installer or run the following command in the folder:
sudo apt install ./Mine-imator\ 2.0\ Pre-release\ 2.deb Mine-imator can then be found in your Applications menu.
Fedora/Arch Linux/Other distributions: Download the tar.gz archive and extract all the files, then run the Mine-imator executable.
We hope you enjoy the 2.0 update, also please consider donating to help the project if you can!
Donate to Mine-imator development
($5+ one-time or recurring)
Cheers,
David
-
 david got a reaction from CreeperCraft481 in Guide: How to post a Mine-imator project
When you save your project in Mine-imator, a folder is created with the animation name, which contains the .miproject (Mine-imator project) file of your animation together with any skins/textures/scenery you used. This makes sharing animations simple, as everything is located in one place. You can usually find this folder where you installed Mine-imator, inside the Projects folder.
Note: This guide is relevant for all kinds of files, not just Mine-imator projects.
Step 1:
You can't upload a folder to the internet, but you can upload a compressed folder (.zip file), also known as an archive. If you only want to upload a single file, you can skip this step.
To create a compressed folder on Windows, right-click the folder, select "Send to" and pick "Compressed (zipped) folder" as shown below. The newly created compressed folder will have the same name as your original folder with .zip added.
Step 2:
Upload the file or archived folder to a media sharing site. There are some good ones out there, I'd recommend one of these:
MediaFire Google Drive Dropbox Step 3:
When you have uploaded the file (this process varies from site to site), fetch the download link of your file and post it on the forums. Make sure the download works before sharing it with the world!
-
david got a reaction from CraftBlack in Dirt Path block not appearing :(
This is fixed in pre-release 5 coming next month 👍
-
Recently Browsing 0 members
No registered users viewing this page.